
How to Use Horseshoe Shims for Tile: 5 Steps, 5 Thicknesses
Set the tile, check the joint and height, and pull the shim before grouting once the adhesive reaches its data-sheet time. A shim holds a gap; it does not level adjacent tile edges.
To use horseshoe shims well, start with what they are: flat, U-shaped plastic pieces of fixed thickness. The open end lets you slide one into a joint or under a tile edge from the side, so you can hold a gap or support a tile at a set height without lifting the tile far.
ZEBRA TOOLS, a tile leveling system manufacturer in Zhejiang, China, makes the BM-P10 horseshoe shim in 5 thicknesses for tile distributors and installers. This guide covers how to use horseshoe shims on tile in 5 steps, which thickness to pick, and where a shim is the wrong tool.
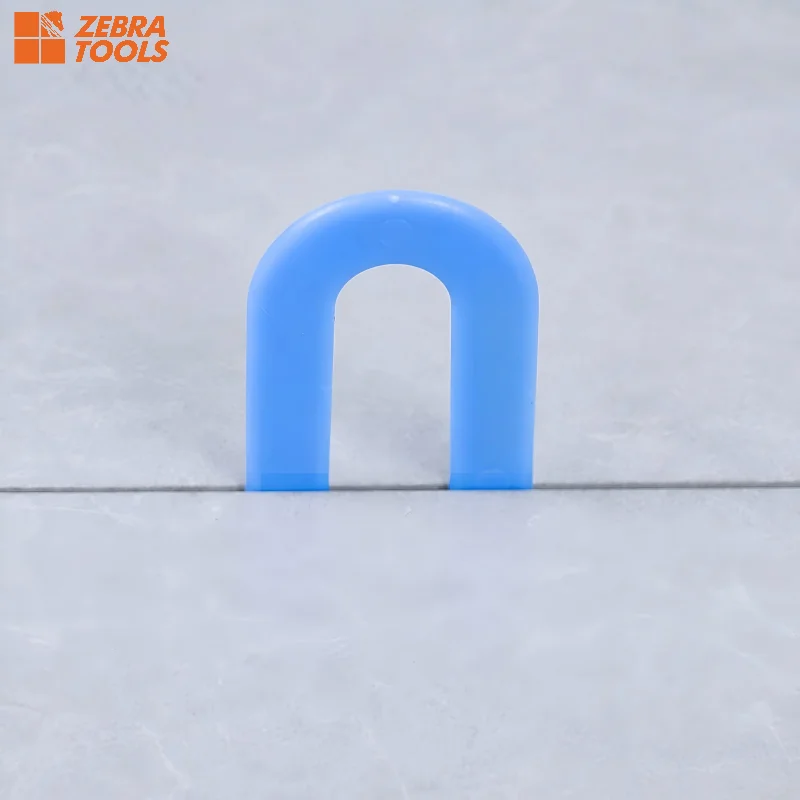
Bottom line: a horseshoe shim is only as accurate as the thickness you choose. Read the detail, match the color to the millimetre value, and take the shim out before grout goes in.
How to Use Horseshoe Shims in 5 Steps
- Read the detail and pick the thickness. The installation detail or tile maker's instructions set the joint or support gap. Choose the BM-P10 color for that millimetre value from the table below; do not stack shims to make up a size unless the detail allows it.
- Inspect and clean the shim. Use shims that are flat and unbroken, with no hardened adhesive on the legs. A bent or coated shim no longer holds its nominal thickness.
- Slide the open U into position. Push the shim in from the side — into the joint, or under the tile edge where the detail calls for support. The open end fits around a leveling-clip strap or an anchor, so the shim can go in after the clip is placed.
- Set the tile and check it. Bed the tile against the shim, then check the joint width and the tile position with a straightedge. If two tile faces sit at different heights, that is a leveling problem — use the leveling system, not a thicker shim.
- Remove the shim before grouting. Once the adhesive reaches the removal time on its data sheet, pull the shim out sideways and clear the joint. Do not grout over it unless the approved detail says it stays.
Which Thickness? BM-P10 in 5 Colors
Each color is one thickness, so the size is readable on site without measuring. ZEBRA sizes are metric; the inch column is the exact conversion, not a relabel.
| Thickness | Color | Exact inch / nearest fraction | Bag weight (100 pcs) | Bags per carton | Pieces per carton* |
|---|---|---|---|---|---|
| 1.5mm | Blue | 0.059in / 1/16in (1.59mm) | 159g | 70 | 7,000 |
| 2.0mm | Green | 0.079in / 5/64in (1.98mm) | 169g | 70 | 7,000 |
| 3.0mm | Red | 0.118in / 1/8in (3.18mm) | 258g | 45 | 4,500 |
| 5.0mm | Yellow | 0.197in / 3/16in (4.76mm) | 377g | 30 | 3,000 |
| 6.5mm | Black | 0.256in / 1/4in (6.35mm) | 480g | 24 | 2,400 |
Source: ZEBRA BM-P10 product records, October 2026. Shim size 45.9×35.9mm, PP, 100 pieces per neutral OPP bag, 54×32×25cm carton. *Calculated as bags per carton × 100. Use the published net/gross record for each thickness; do not estimate carton weight from another thickness.
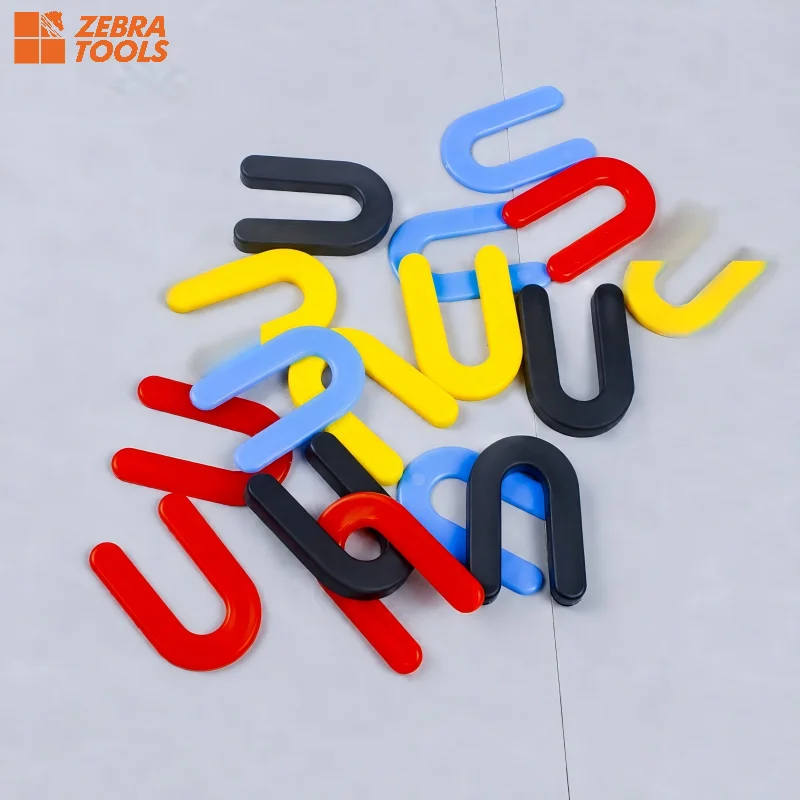
What Are Horseshoe Shims Used For? 3 Jobs
Horseshoe shims are used for 3 jobs in tile and stone installation:
- Holding a fixed gap. One shim holds 1.5, 2, 3, 5 or 6.5mm at the position the installation detail names.
- Setting an edge height. A shim slid under a tile edge holds it at the height the detail calls for. BM-P10 has no published load rating, so stone and façade loads need their own test.
- Working around something already in the joint. The open U of the 45.9×35.9mm BM-P10 slides around a leveling-clip strap or an anchor from the side.
Source: ZEBRA BM-P10 product records, October 2026. A shim holds a thickness; it is not used to level adjacent tile edges.
When to Use Shims Instead of Spacers
Use a spacer when the job is joint width at an intersection; use a horseshoe shim when the detail names a thickness at a specific position, or when a piece has to go in around something already in the joint. The tile shims vs spacers comparison covers the full split, and the guide to types of tile spacers covers the Cross, T and Y profiles.
Market listings point the same way: the BOE horseshoe shim listing (retrieved October 31, 2026) describes horseshoe shims for horizontal and vertical tile or stone work that "won't compress when stacking walls", and QEP's Home Depot listing title (retrieved October 31, 2026) sells them for marble, granite and stone floor and wall installations. Treat those as product claims for those brands; confirm BM-P10 against your own detail with an approved sample.
4 Things a Horseshoe Shim Cannot Do
- Repair the substrate. A shim under one tile does not fix a floor or wall that is out of tolerance; correct the substrate first.
- Level adjacent tile edges. Edge-to-edge height (lippage) is controlled by the leveling system, not by shim thickness.
- Prove mortar coverage. A shim holds a gap; it says nothing about the adhesive contact under the tile.
- Certify a load. For stone, glass or façade work, the application load needs its own test; BM-P10 has no published load rating.
Buying Horseshoe Shims in Bulk: 1,000 Bags per Thickness
As a horseshoe shims manufacturer, ZEBRA sells BM-P10 shims at an MOQ of 1,000 bags per thickness, or 100,000 pieces. The wholesale guide price is $0.60–0.70 per 100-piece bag FOB Ningbo, which puts one MOQ line at $600–700 before freight. Private-label jars and cartons are possible; the XPro horseshoe shim packaging case shows one retail jar and master-carton set.
⚖️ Guide prices are FOB Ningbo at MOQ and subject to raw material cost fluctuations — contact us for current pricing. (price book updated 2026-11-19)
Horseshoe Shim FAQ
What are horseshoe shims used for?
Three jobs in tile and stone work: holding a fixed gap of 1.5, 2, 3, 5 or 6.5mm at the position the installation detail names, holding a tile edge at the height the detail calls for, and filling a gap around a leveling-clip strap or anchor, which the open U (45.9×35.9mm on ZEBRA BM-P10) slides around from the side. They are not used to level adjacent tile edges or to correct the substrate.
What thickness horseshoe shim should I use?
Use the thickness the approved installation detail calls for. ZEBRA BM-P10 is offered in 5 thicknesses: 1.5mm (blue, nearest 1/16in), 2mm (green, nearest 5/64in), 3mm (red, nearest 1/8in), 5mm (yellow, nearest 3/16in) and 6.5mm (black, nearest 1/4in). The metric sizes are not exact inch sizes: 1/16in is 1.59mm and 1/4in is 6.35mm, so approve a sample when the specification calls for an exact fractional size.
Do you remove horseshoe shims before grouting?
Yes, unless the approved detail says the shim stays. Rubi's tile spacer guide (retrieved October 31, 2026) says not to grout over tile spacers and to remove any that stick before grouting, and the BOE horseshoe shim listing (retrieved October 31, 2026) describes horseshoe shims as easy to remove. Pull the shim once the adhesive has reached the time on its data sheet, then clear the joint before grouting.
Are horseshoe shims reusable?
Yes, when they come out clean, flat and unbroken. Market listings such as BOE's describe horseshoe shims as reusable, but ZEBRA has not published a reuse-cycle rating for BM-P10. Check the color still matches the thickness you need.
What is the difference between horseshoe shims and tile spacers?
A spacer sets the joint width at a tile intersection; a horseshoe shim sets a thickness at the position the installation detail names, such as under a tile edge or in a joint where the open U fits around a clip strap. ZEBRA spacers come in Cross, T and Y profiles from 1.0mm; BM-P10 horseshoe shims come in 5 color-coded thicknesses from 1.5mm to 6.5mm.
Stock the Thicknesses Your Installers Actually Use
Tell us which of the 5 thicknesses you sell and the pack you need — bag, jar or private label. We will confirm the carton records and MOQ for each line.
Plan a Horseshoe Shim Order →